
Introduction
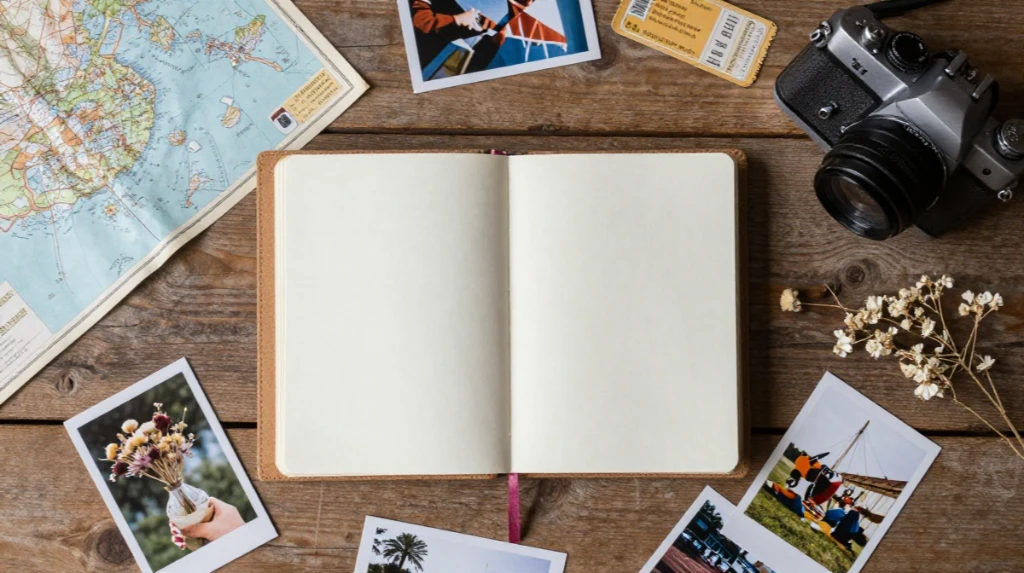
There is something about a boarding pass tucked in your bag or a coffee-stained map from a city you barely knew that feels more real than any photo. A travel journal captures that feeling in a way a camera roll never quite manages. It holds texture, handwriting, smell, and the small paper trail that proves a trip actually happened.
If you have ever come home from a trip with a shoebox full of receipts, postcards, and random paper scraps and had no idea what to do with them, you are exactly who this list is for. Junk journal pages give every one of those little pieces a home, and the process of making them is honestly part of the fun.
This guide walks through twenty-two practical ideas for building a travel journal, using everyday materials and simple techniques anyone can try, even if you have never made a handmade journal before. Whether you want a full art journal dedicated to one trip or a running travel diary you add to every year, there is an idea here that fits your style and your patience level.
Ticket Stub Pockets
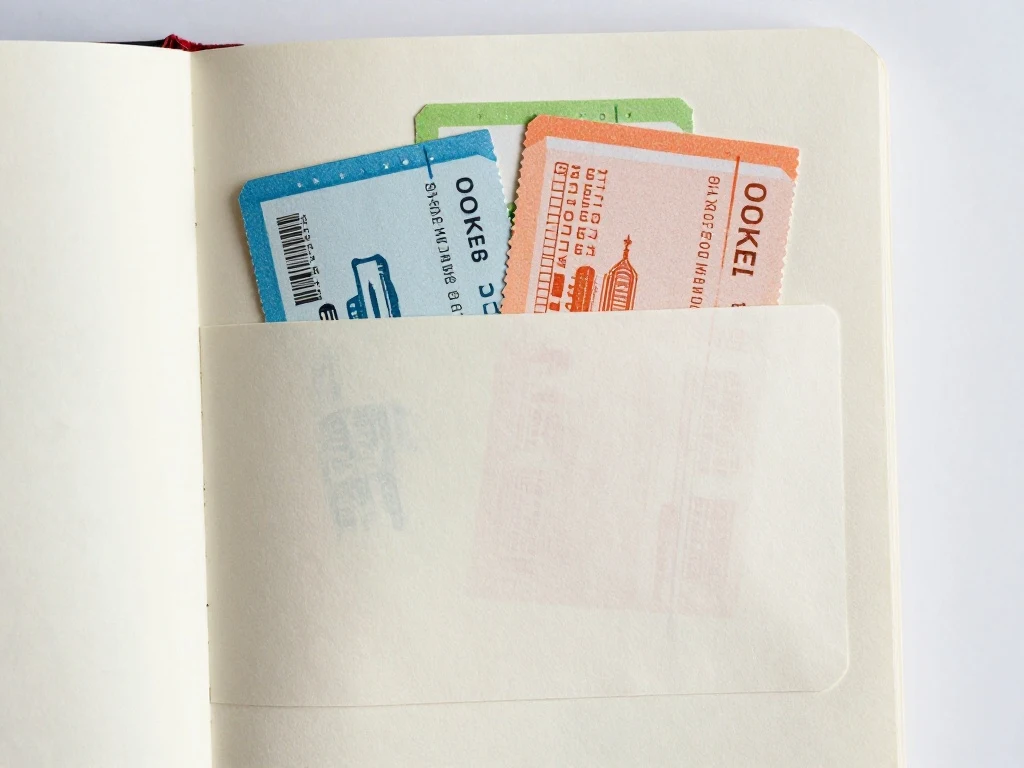
Ticket stubs from trains, buses, and attractions are some of the easiest pieces of travel keepsakes to work with because they are already small and flat. Glue a simple envelope or folded paper pocket onto a page and slide the stubs inside so they stay protected but visible. This turns a pile of loose paper into a neat little journal pocket that tells its own story.
If you want to add a bit more context, jot the date and a short memory on the back of each stub before you tuck it away. Grouping stubs by city or by day makes the page easier to follow later. This is one of the best beginner-friendly ideas because it takes almost no skill, just a bit of glue and a willingness to keep your paper trash.
Map Journaling Pages
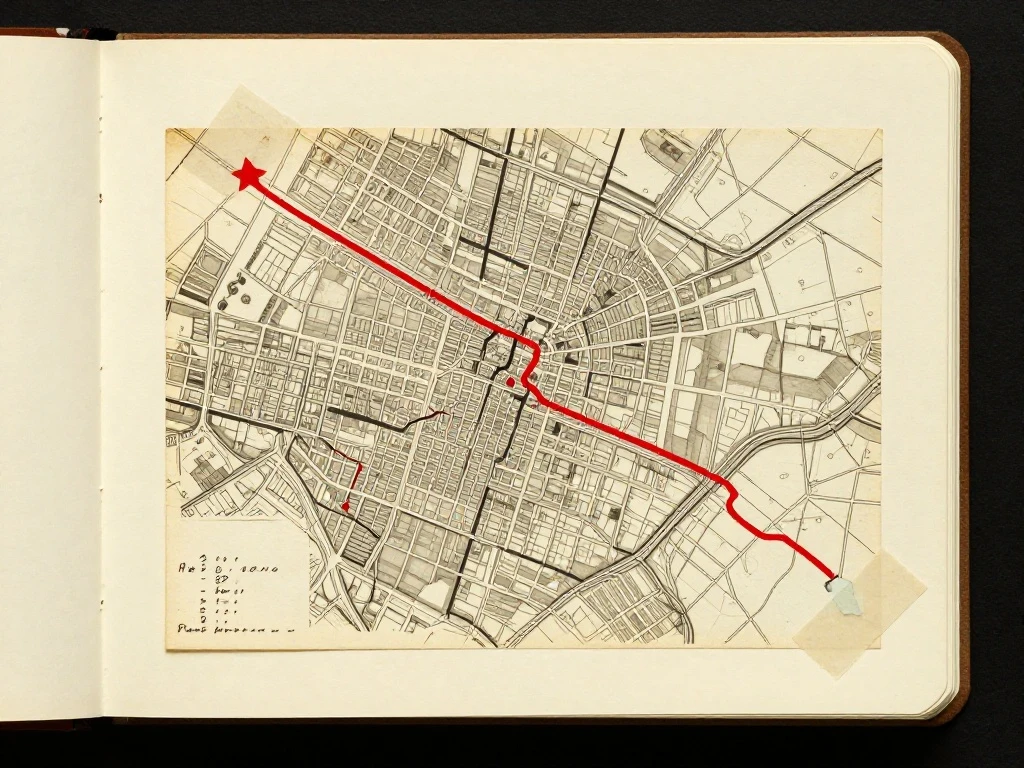
Map journaling is one of the most visually satisfying ways to document a trip. You can cut out sections of a printed map, trace your route by hand, or simply glue in a torn piece of a tourist map you picked up along the way. It gives the reader an instant sense of where you actually went.
For a cleaner look, try layering a smaller map cutout over a solid background color so it does not overwhelm the page. Adding a small red dot or star to mark specific locations helps guide the eye. This idea pairs naturally with photos or ticket stubs from the same destination.
Postcard Collection Spread
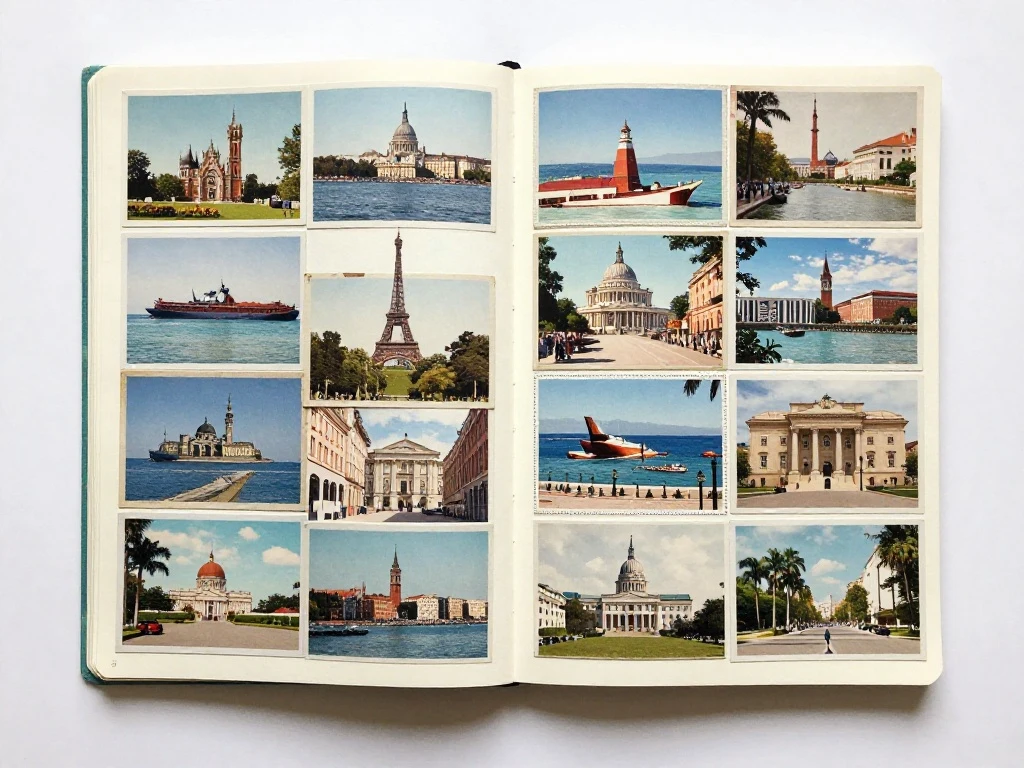
A postcard collection deserves more than a drawer somewhere. Dedicate a two-page spread to postcards you bought or received during your trip, arranging them so a few edges overlap for a layered, collected look. This is one of the simplest ways to fill space quickly while still keeping the page interesting.
If you did not buy postcards while traveling, you can still recreate this idea using printed photos cut to postcard size. Writing a short caption on the back of each one, just like you would if mailing it, adds a personal touch. This idea works especially well as a journal cover or opening spread for a trip.
Boarding Pass Keepsake Page
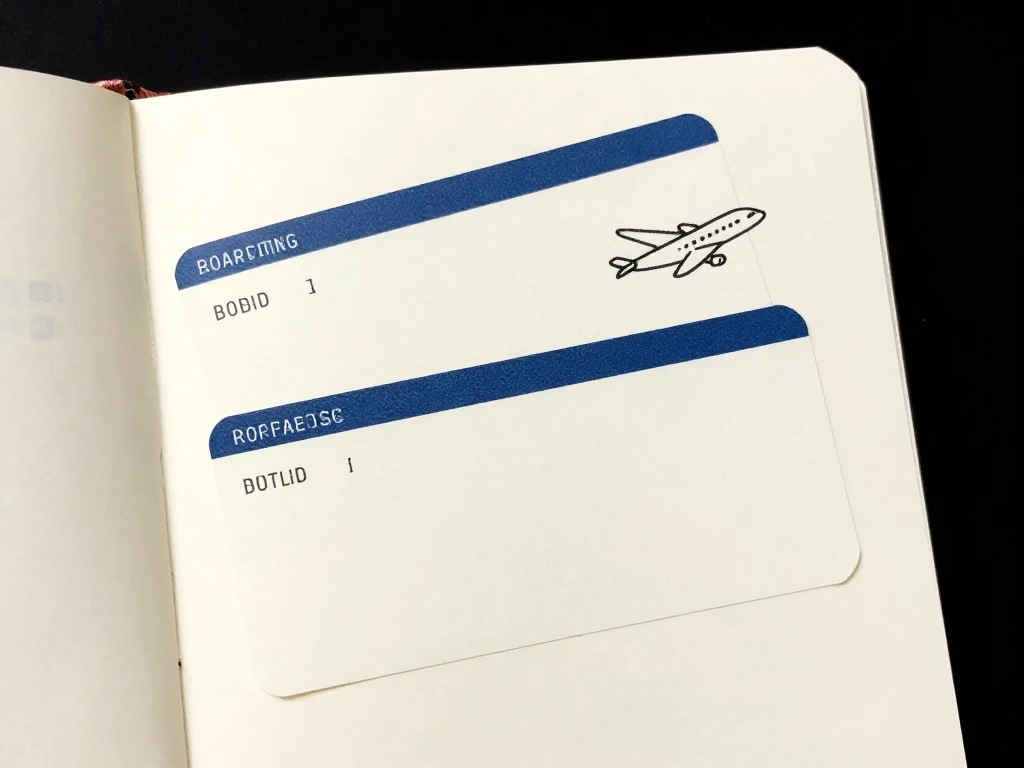
Boarding passes are often the very first physical proof that a trip began, which makes them meaningful to include somewhere near the front of your book. A dedicated page for flight or transit documents helps set the scene before the rest of the story unfolds. You can trim them to fit or leave the full shape for character.
Layering two or three boarding passes at slight angles creates natural movement on the page instead of a flat, stacked look. Adding a small drawing of a plane or a simple washi tape border finishes the page without much effort. This is a small but sentimental piece of trip documentation many people forget to save.
Layered Photo Pockets
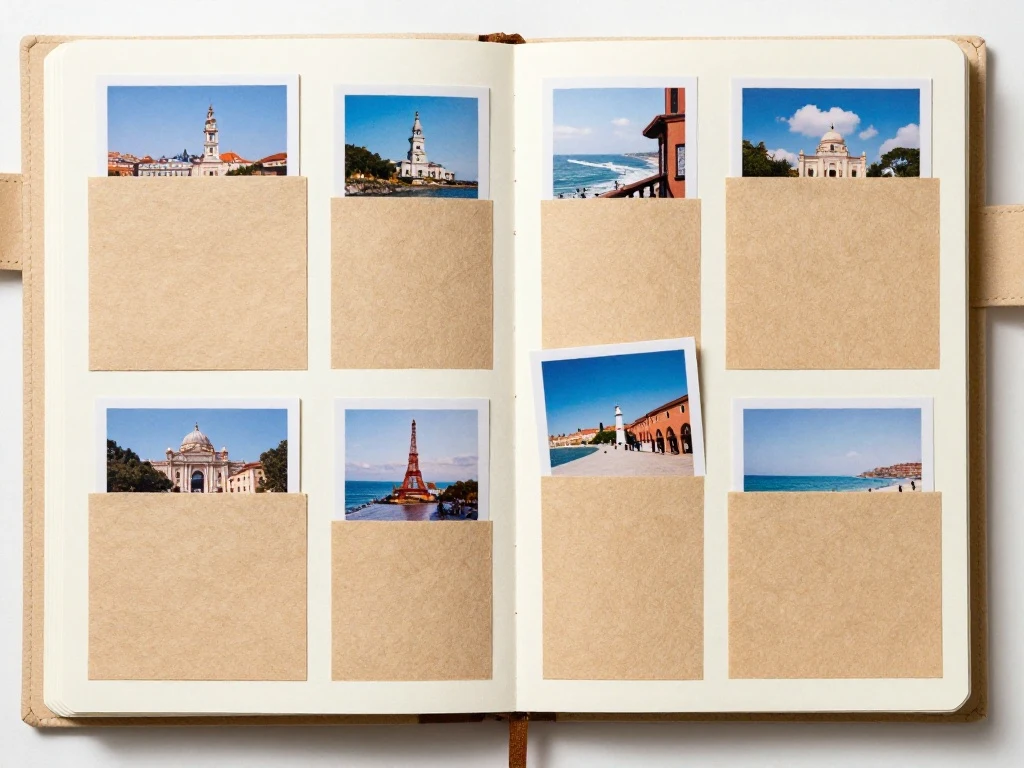
Printed photos add life to any mixed media journal, but gluing every single one flat can feel repetitive. Instead, create small layered pockets using folded paper or vellum so photos can be tucked in and pulled out later. This adds texture and a bit of interactivity to the page.
Mixing photo sizes, some small and cropped, others full page, keeps the spread from feeling uniform. A slightly overlapping layout, with one photo peeking out from behind another, gives the page a natural, collected feel rather than a printed layout. This technique works well throughout an entire memory album.
Washi Tape Borders
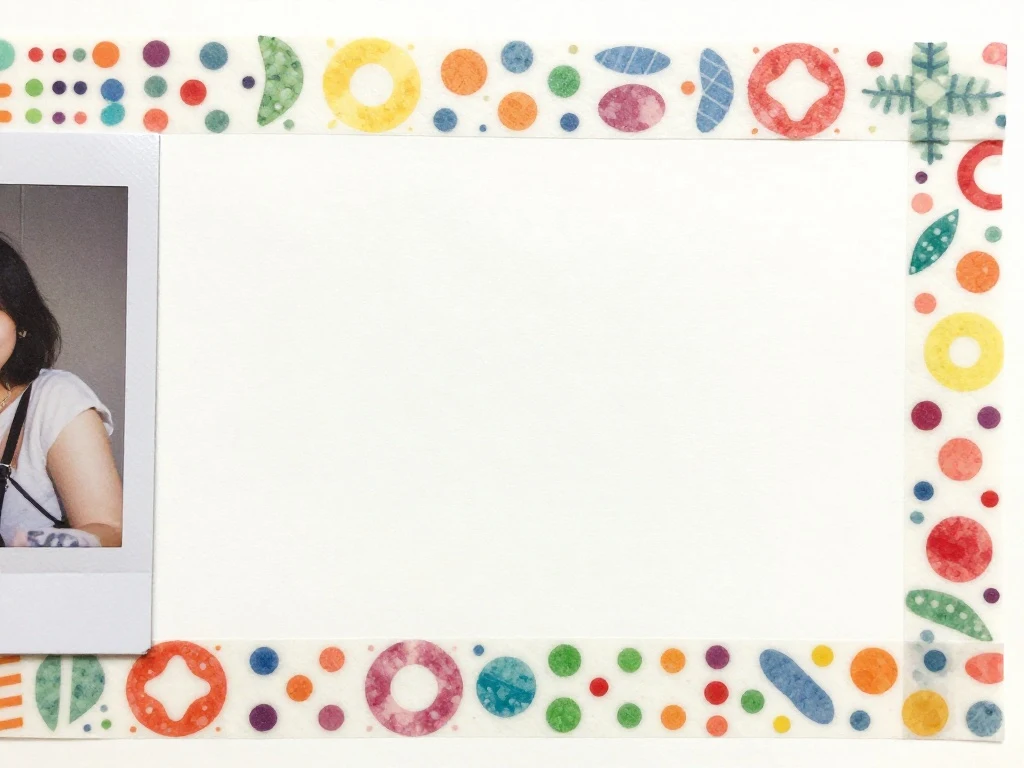
Washi tape journal decoration is one of the fastest ways to add color and structure to a page without much planning. Use it to frame photos, create borders around handwritten notes, or hide the rough edges of glued paper. It is forgiving, inexpensive, and easy to reposition if you change your mind.
Sticking to two or three coordinating colors per spread keeps the page from feeling cluttered. Washi tape also works well for sealing small pockets or securing loose ephemera that does not lay flat. It is one of the most beginner-friendly journal supplies to keep on hand.
Vintage Ephemera Corner
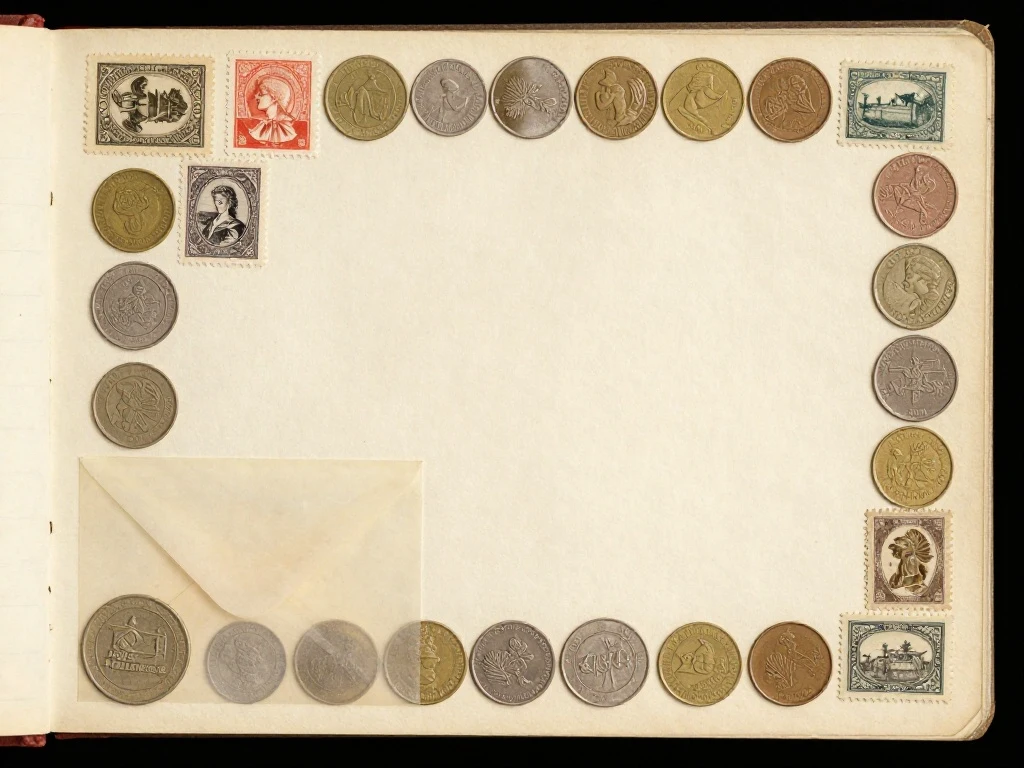
Old stamps, foreign coins, receipts, and other bits of vintage ephemera can be gathered into a small dedicated corner or pocket on a page rather than scattered throughout the journal. This keeps small, easily lost items organized while still giving them a visible spot. It also adds a nostalgic, collected feel to the overall book.
A tea-stained background paper pairs particularly well with this kind of ephemera, giving the whole corner an aged look. Layering a few translucent envelopes lets you display several small items without gluing each one down permanently. This idea is especially popular for anyone drawn to vintage travel aesthetics.
Souvenir Wrapper Pages
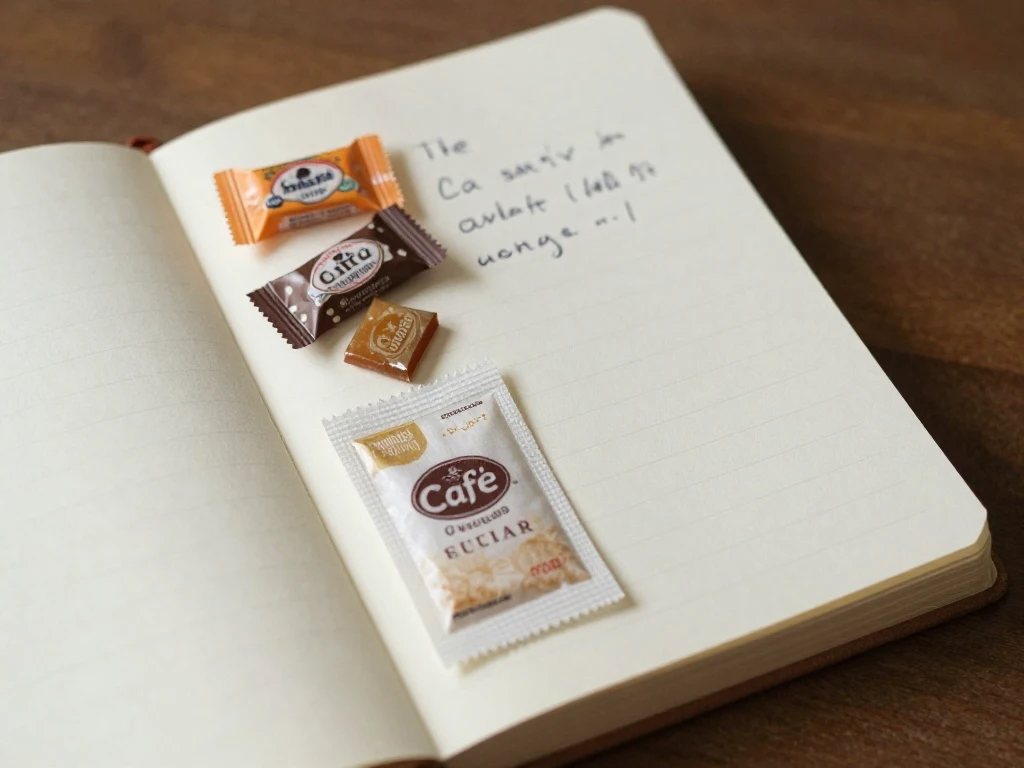
Snack wrappers, sugar packets from a local cafe, or small labels from souvenirs often get thrown away, but they hold surprisingly specific memories. Saving a few of these and gluing them into a page creates a page that feels genuinely lived rather than staged. It is an easy way to document everyday moments, not just landmarks.
Grouping a handful of small wrappers together on one page, rather than spreading them thin, creates a fuller and more satisfying spread. A short handwritten note about the meal or snack adds context that a wrapper alone cannot give. This is one of the more overlooked but rewarding ways to document adventures.
Hand Drawn Travel Maps
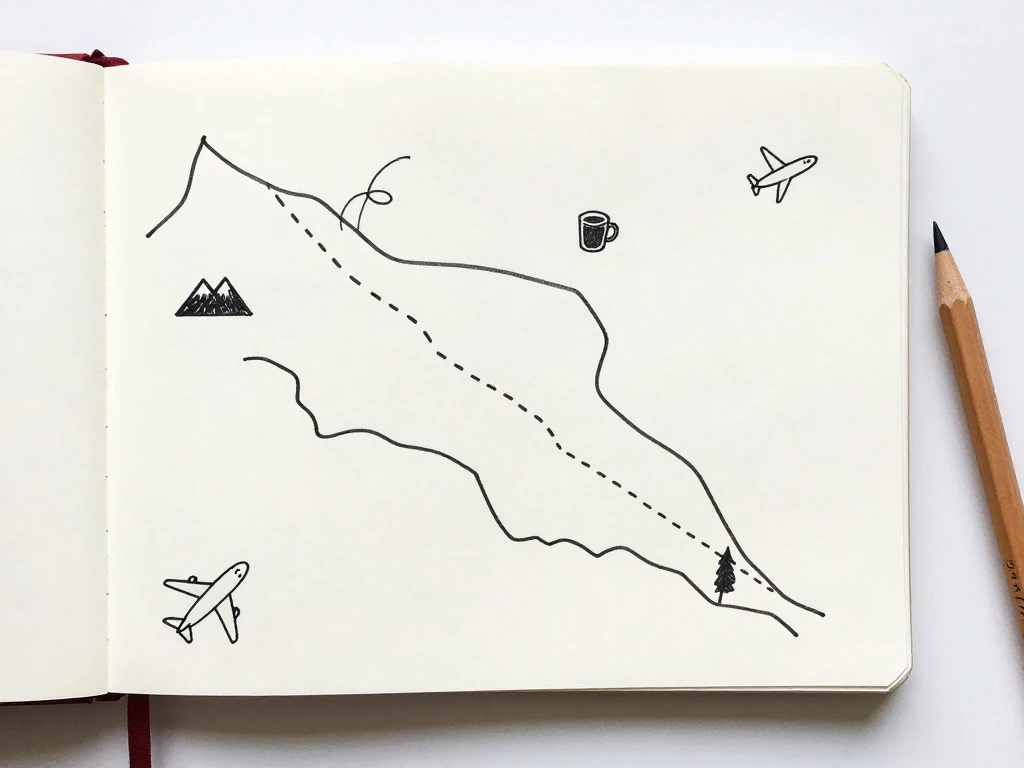
If you enjoy a bit of drawing, sketching your own simplified map of a city or region gives your travel notebook a personal touch that a printed map cannot match. It does not need to be accurate or artistic. A rough outline with a few labeled landmarks is more than enough.
Adding small hand-drawn icons, a tiny plane, a coffee cup, a mountain, near the places they happened helps the map tell a story at a glance. This idea works well even for people who consider themselves non-artists, since imperfect hand drawing actually adds charm here. Pair it with a simple caption explaining your route.
Currency Scrap Display
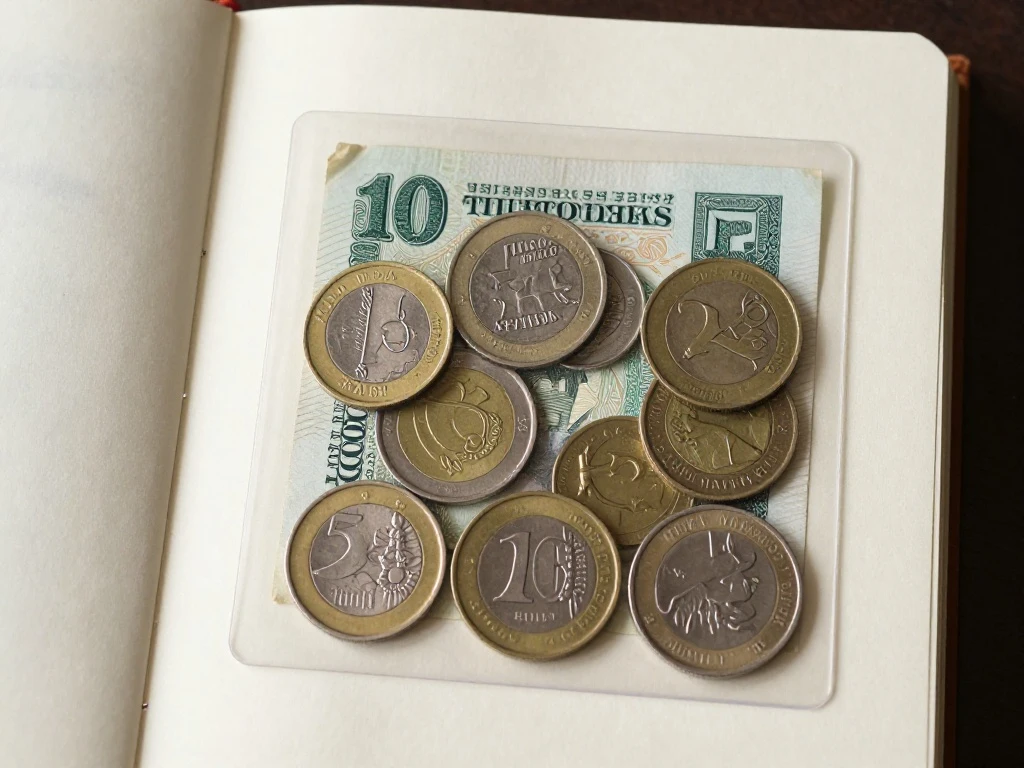
Leftover foreign coins or small bill denominations that are not worth exchanging make an interesting and slightly unexpected addition to a journal. A small clear pocket or taped-down display lets you show the currency without permanently attaching it, in case you want to keep it separately later. This idea adds a tactile, collected quality to the page.
Pairing the currency with a short note about the exchange rate or a funny story about counting foreign coins gives the page more personality. This works particularly well combined with a receipt from the same place. It is a small but memorable piece of travel mementos.
Pressed Flower Pages
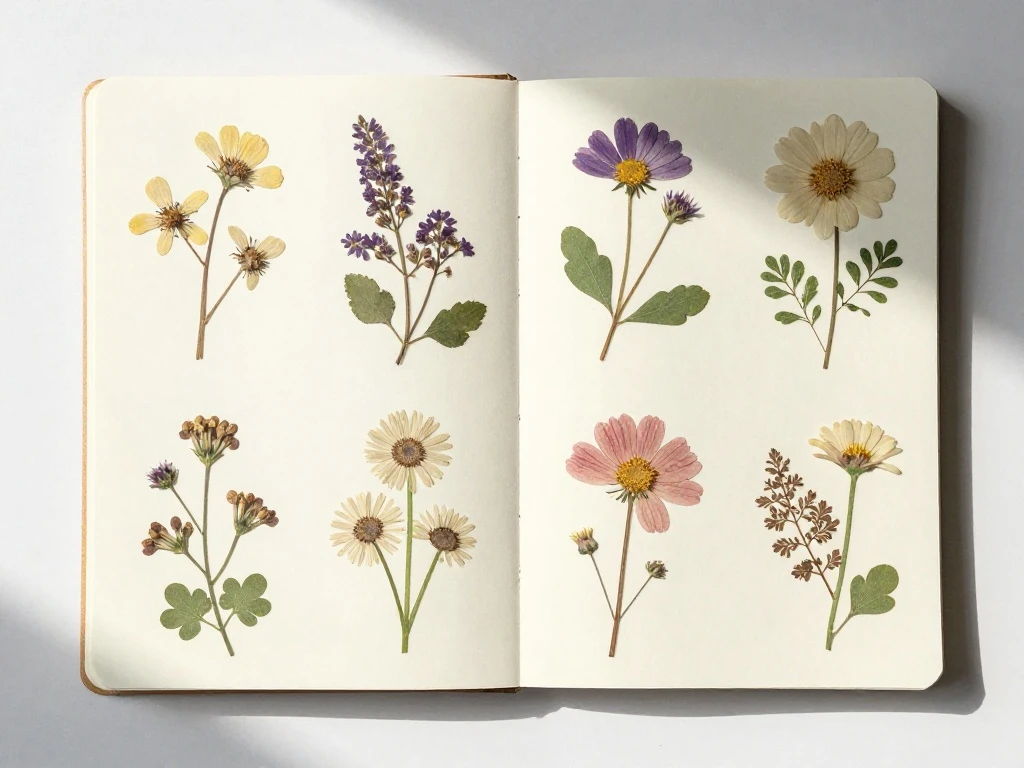
Flowers or leaves collected during a hike or a walk through a new city can be pressed flat between book pages for a week or two before adding them to your journal. Once dried, they add a delicate, natural texture that photos simply cannot recreate. This idea works especially well for nature-focused trips.
Gluing pressed flowers with a thin layer of craft glue, rather than tape, helps preserve their shape longer. Pairing them with a short note about where the walk took place keeps the page grounded in the actual memory. This is a favorite technique among anyone who also keeps a nature journal.
Journal Envelope Pockets
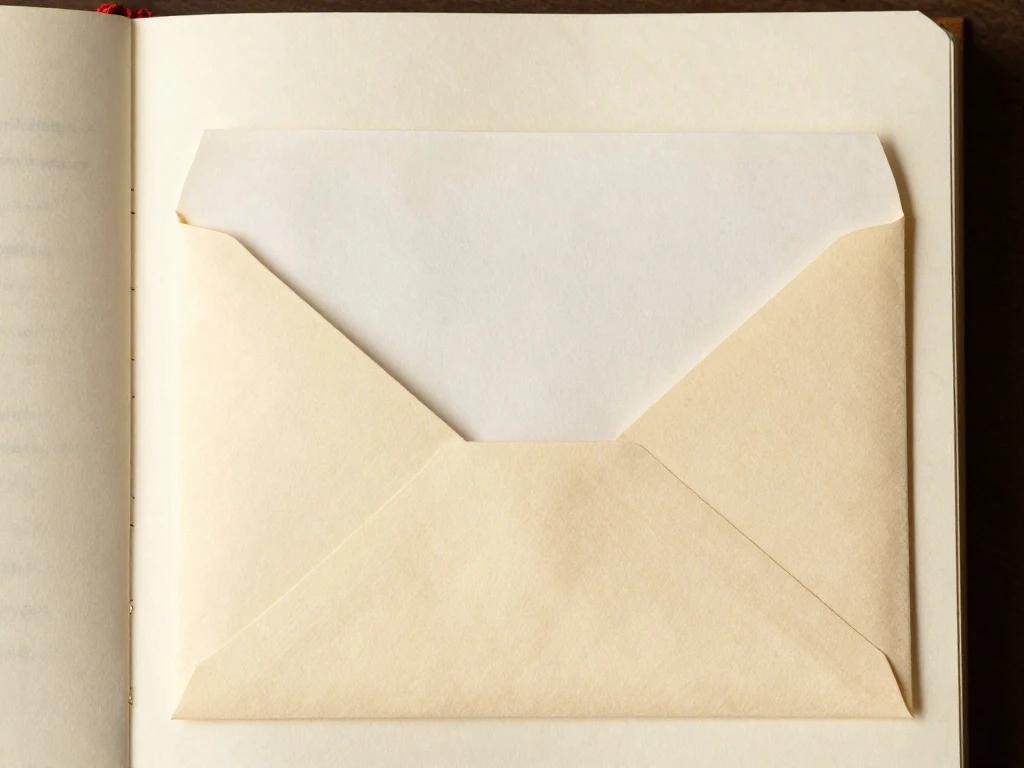
Small envelopes glued into your book create hidden storage for anything too bulky or irregular to glue flat, from folded brochures to extra photos. A journal pocket like this also adds a bit of mystery, since the reader has to open it to see what is inside. It is one of the most functional ideas on this list.
Decorating the outside of the envelope with a stamp, a small drawing, or a label describing what is inside makes the page more inviting. Using envelopes of different sizes throughout the book keeps the overall layout from feeling repetitive. This idea pairs naturally with ticket stubs, currency, or small souvenirs.
Destination Timeline Spread
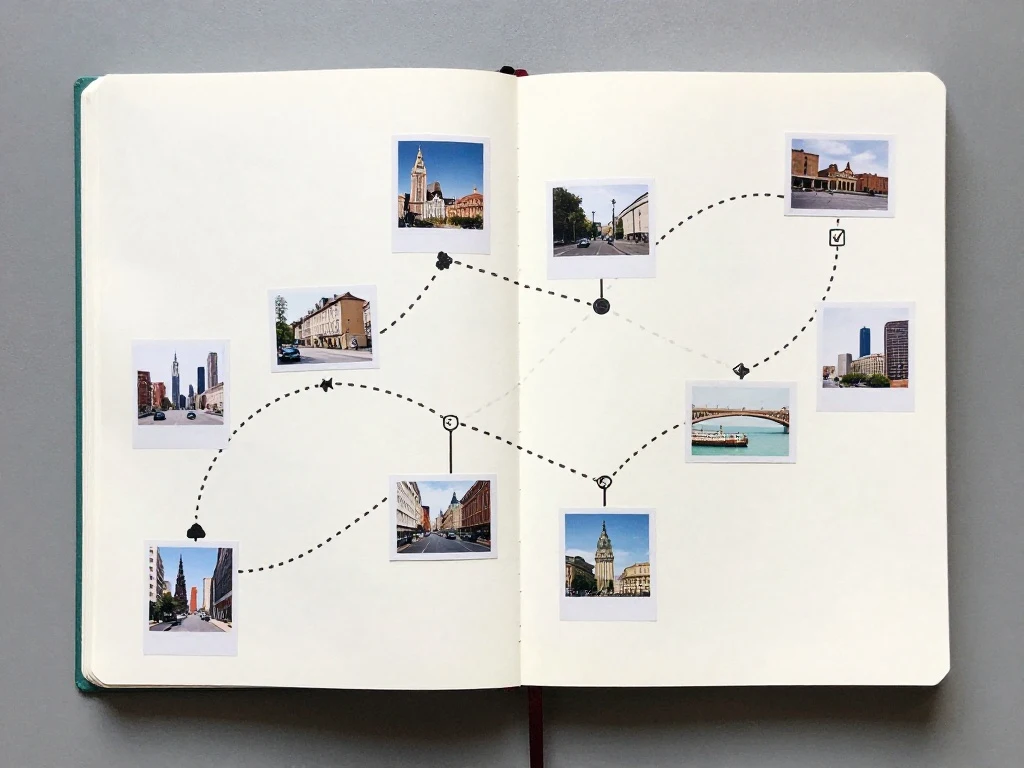
A simple timeline running across two pages, marking each day or each city visited, gives structure to a trip that covered a lot of ground. This is especially useful for longer trips where it becomes easy to lose track of the order of events. It also gives future you an easy page to reference when retelling the story.
Small icons, arrows, or dotted lines connecting each stop keep the timeline visually interesting rather than just a list of dates. Adding one small photo or sticker per stop breaks up the text and keeps the page from feeling too plain. This idea works well near the middle of a journal spread dedicated to a multi-city trip.
Luggage Tag Accents
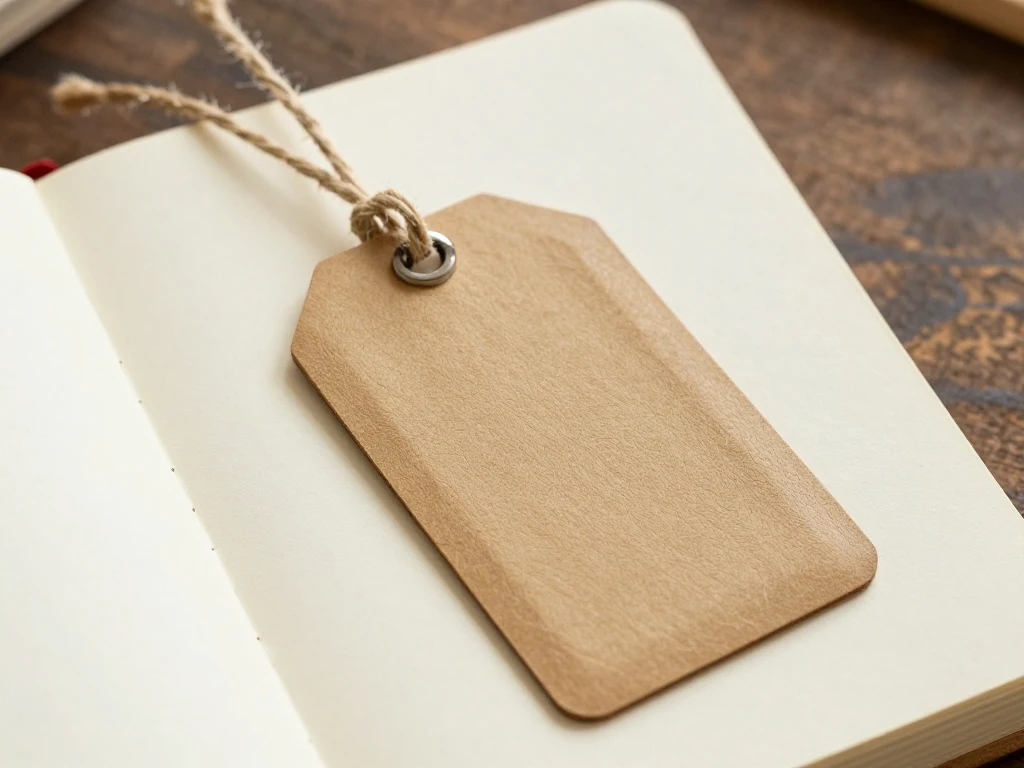
Old luggage tags, whether from checked bags or hotel key tags, add a nice bit of realism and texture to a travel page. Even if you cannot save the actual tag, recreating one with cardstock and string is a simple craft project that captures the same feel. It works well as a small accent rather than the centerpiece of a page.
Attaching the tag with a bit of twine rather than glue keeps it slightly three dimensional, which adds visual interest to a flat page. Writing your destination and travel dates on the tag ties it directly to the rest of the spread. This is a small detail that makes a big difference in how finished a page feels.
Menu Card Memories
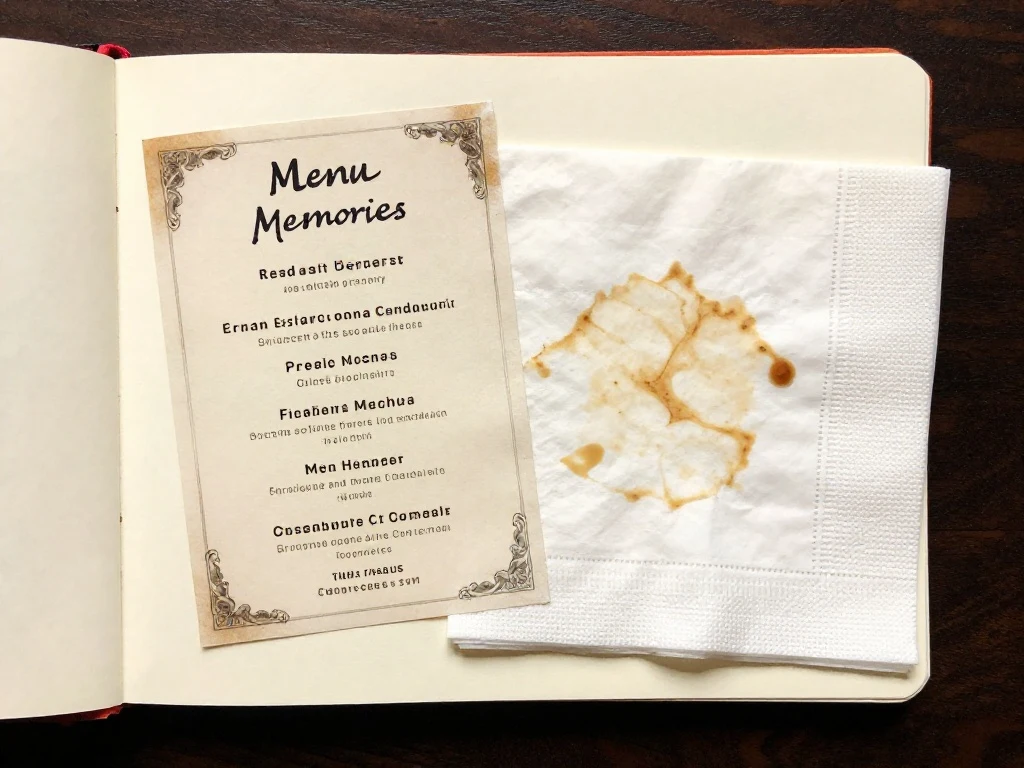
A small piece of a restaurant menu, a coaster, or a napkin from a memorable meal can anchor an entire page around food memories from your trip. Food is often one of the most vivid parts of travel, yet it rarely gets documented beyond a photo of the plate. This idea fills that gap nicely.
Pairing the menu scrap with a short review or a favorite dish description adds personality and helps you remember details later. Grouping two or three meals from the same trip onto one page creates a satisfying, collected food journal feel. This is a simple way to capture vacation moments that usually get forgotten.
Stamped Passport Style Pages
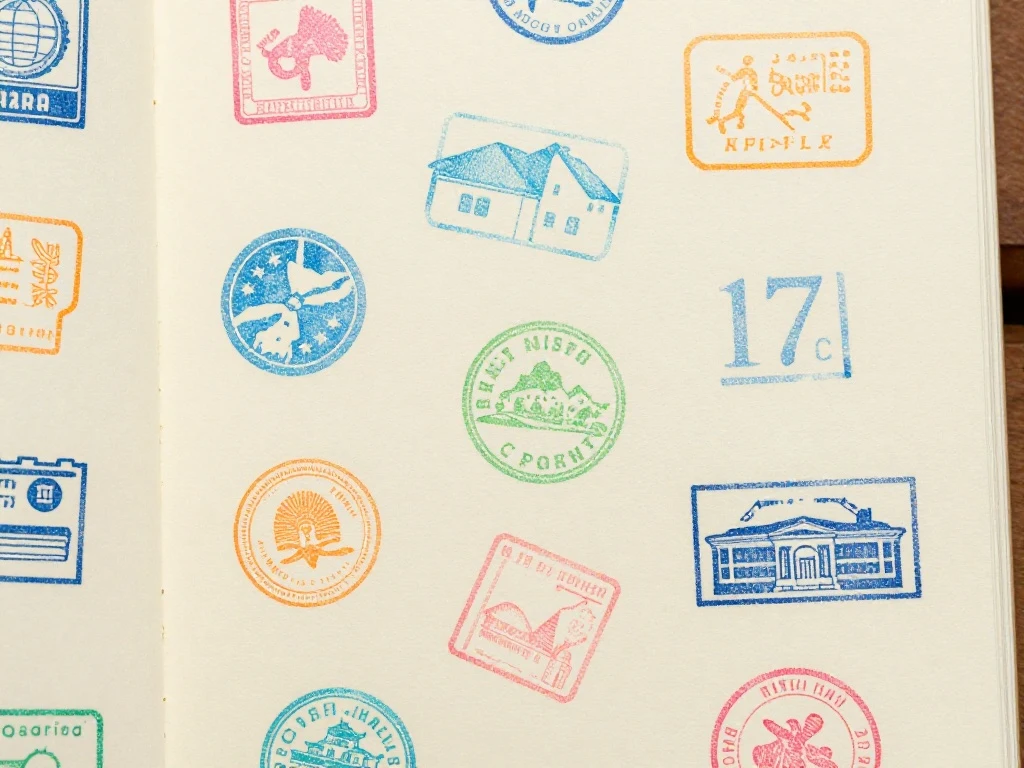
Recreating the look of passport stamps, using ink stamps, stickers, or hand-drawn circles, gives a page a playful, well-traveled feel. This works especially well as a running page across multiple trips, where each new stamp represents a new destination added over time. It is a fun visual anchor for a long-term memory album.
Using a consistent stamp color or style throughout keeps the page cohesive even as new entries are added over the years. Leaving extra blank space around each stamp signals that the page is meant to keep growing. This idea is popular for anyone building a lifelong journey journal rather than a single-trip book.
Mini Accordion Album
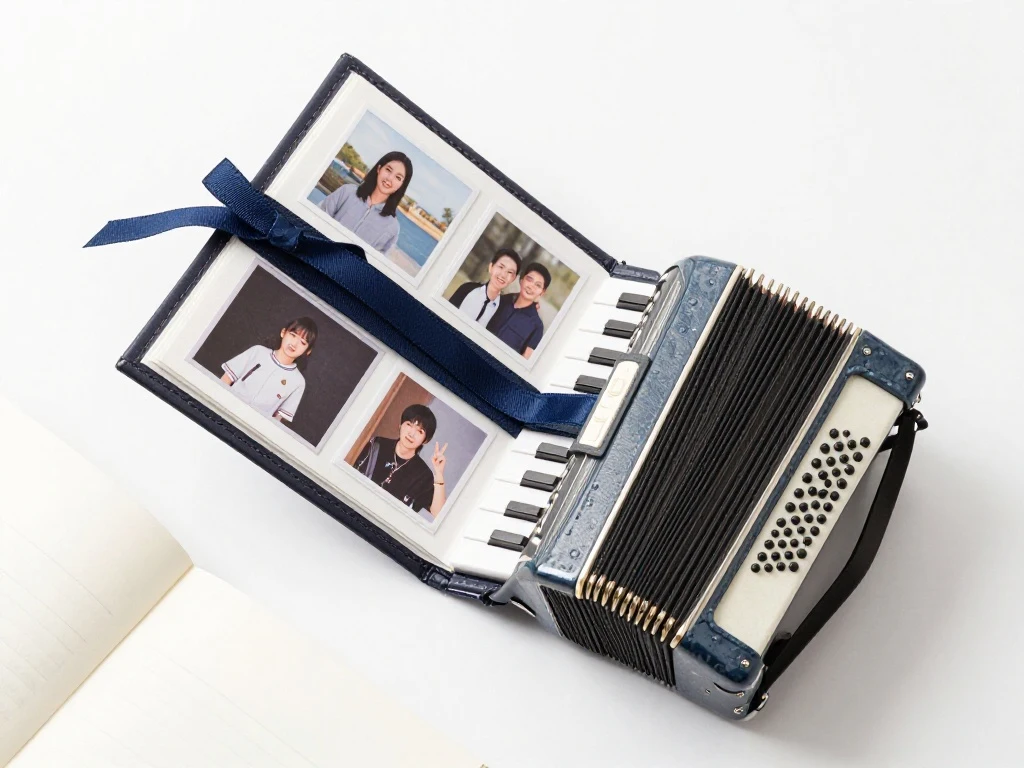
A small folded mini album tucked into a pocket within your main journal lets you fit an entire mini story, like one specific day or one particular hike, into a compact, foldout format. It adds a fun, interactive element without requiring extra pages in the main book. Readers naturally enjoy unfolding something new.
Using a single ribbon or string to tie the accordion closed keeps it neat when not in use. Filling each panel with one small photo and a short caption keeps the format from feeling cramped. This is a slightly more advanced idea, but it is well worth trying once you feel comfortable with basic paper crafting.
Handwritten Travel Notes
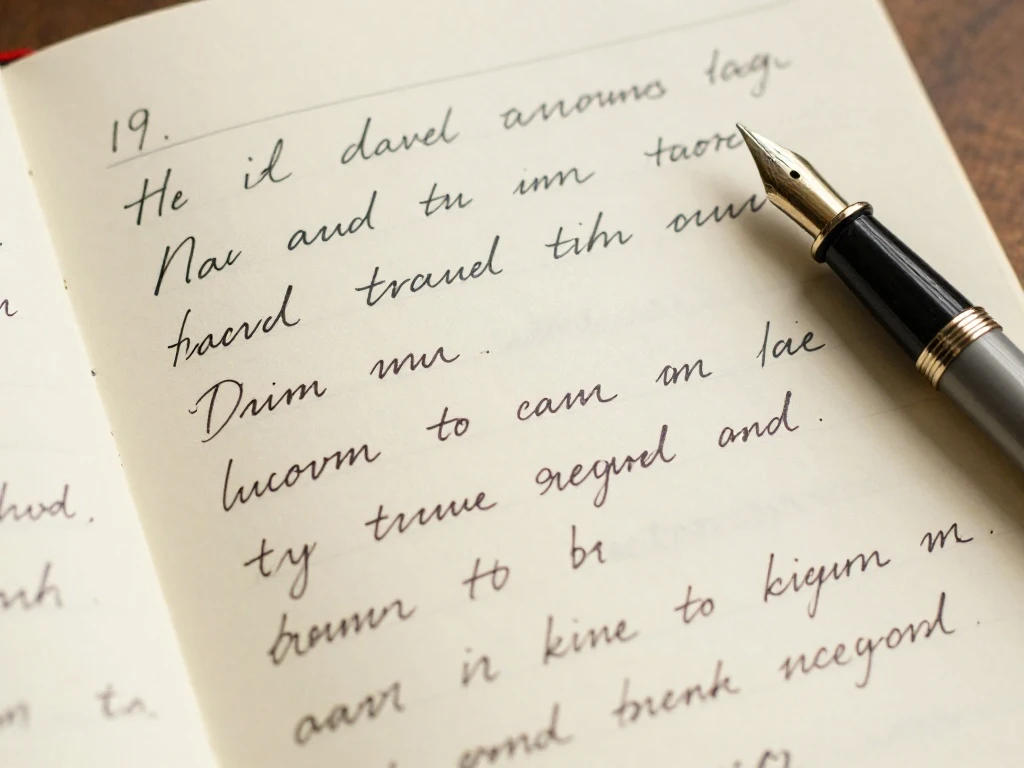
Sometimes the simplest addition to a page is also the most meaningful: your own handwriting. A short paragraph about how a day felt, what surprised you, or what you would tell a friend about a place adds a personal voice that no sticker or photo can replace. This idea costs nothing and takes only a few minutes.
Mixing print and cursive, or varying the size of your writing for headers versus notes, keeps handwritten pages visually interesting. Leaving a little extra space around the writing rather than filling the entire page prevents it from feeling cramped. This is one of the easiest ways to preserve travel memories in your own words.
Brochure Collage Pages
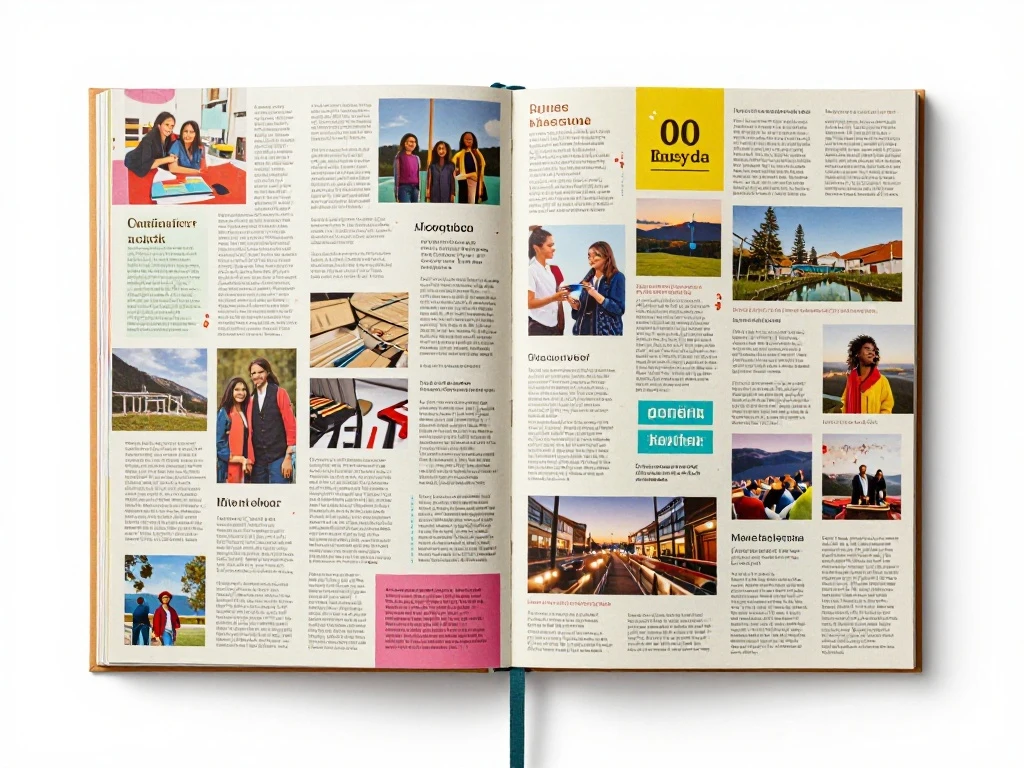
Tourist brochures are often thrown away almost immediately, but their bold colors and images make excellent collage material. Cutting out interesting sections, headlines, or small images and layering them together creates a colorful, busy page full of texture. This idea works particularly well for city trips with a lot of attractions.
Trimming brochures into irregular shapes rather than clean rectangles gives the collage a more organic, collected feel. Combining brochure pieces with a ticket stub or two from the same attraction ties the page together. This is a great way to use paper that would otherwise end up in the recycling bin.
Nature Finds Journal Page
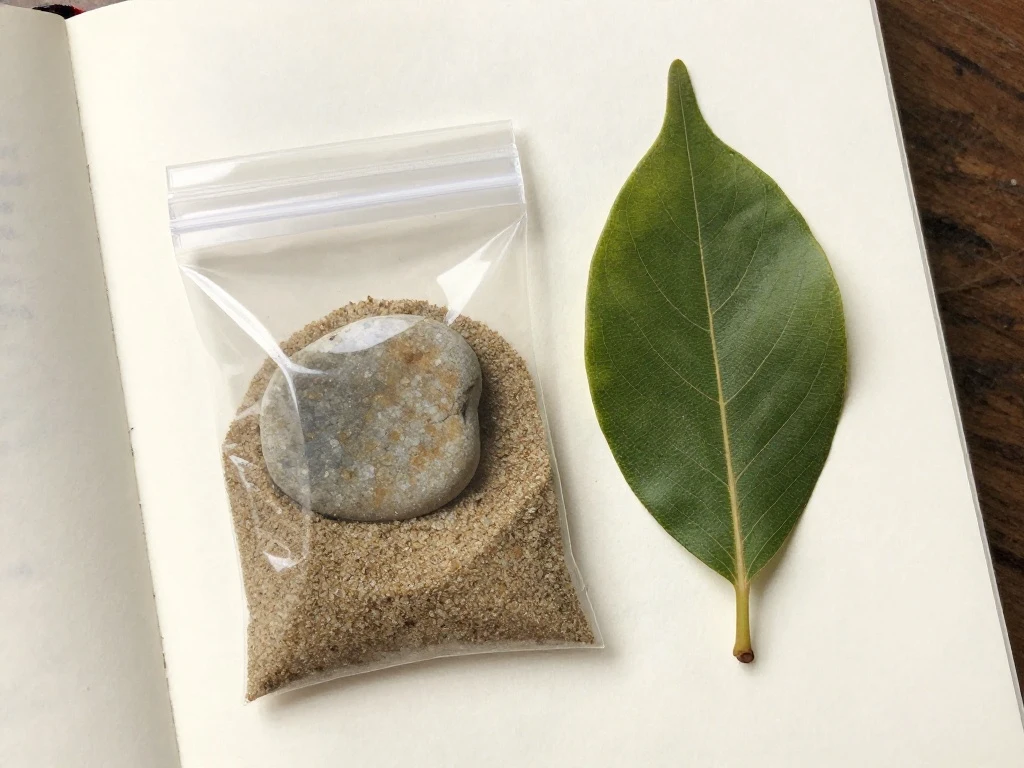
Small natural items collected during a trip, a smooth stone, a bit of sand in a tiny sealed pocket, a leaf, add a sensory element that photos cannot capture. A dedicated page for these finds works well for hiking trips, beach vacations, or any destination centered around the outdoors. It also gives you a reason to slow down and notice small details while traveling.
Securing loose items like sand or small stones in a small clear pocket or sealed pouch keeps the page tidy and prevents mess. Labeling each item with the date and location helps you remember exactly where it came from. This idea pairs naturally with pressed flowers or a hand-drawn map of the area.
Flip Pocket Ideas
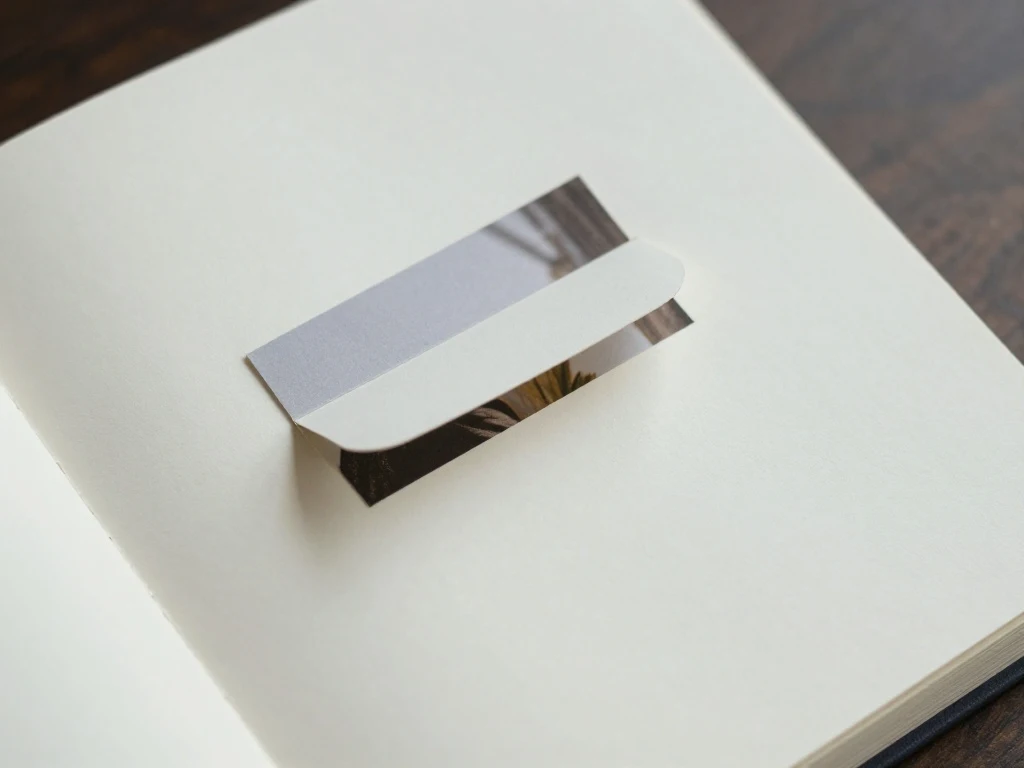
Flip pockets, small folded sections that open upward or sideways, add a layer of surprise and interactivity to any page. They are especially useful for hiding a longer note, an extra photo, or a small collection of stubs without cluttering the visible layout. Readers naturally enjoy lifting a flap to see what is underneath.
Securing the edges of a flip pocket with a small piece of tape rather than a full glue line keeps it easy to open and close repeatedly. Labeling the front of the flap with a simple word or date gives a hint of what is inside. This is a fun technique to mix in every few pages rather than using it throughout the entire book.
Themed Cover Design
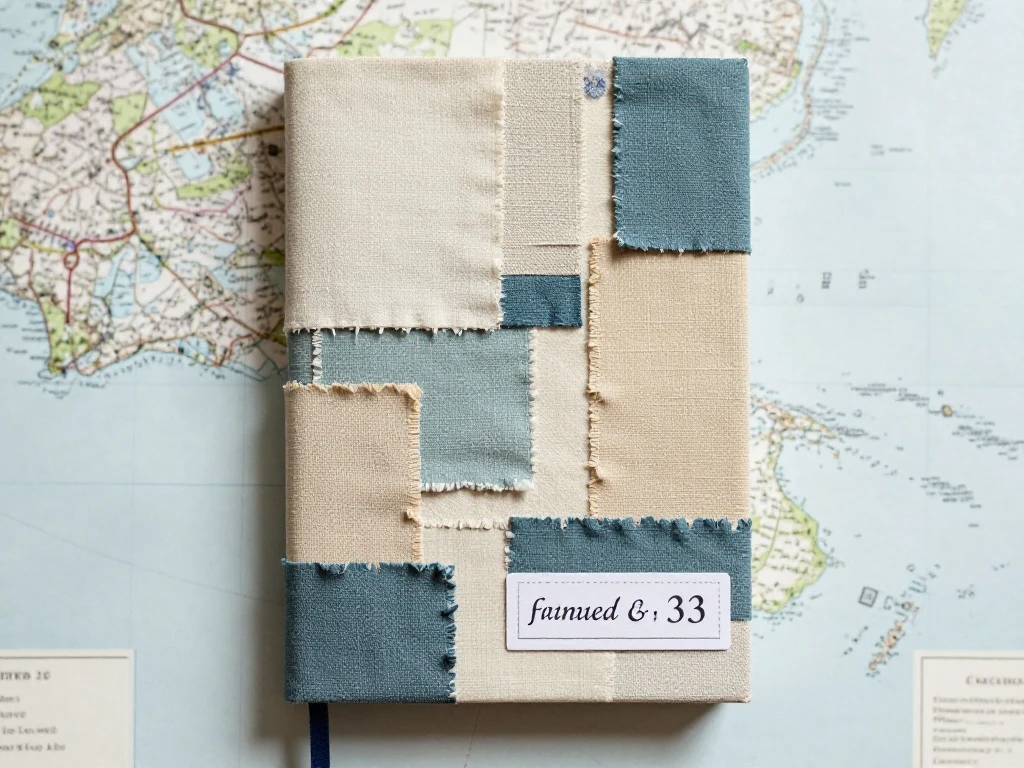
The cover of your journal sets the tone for everything inside, so it is worth spending a little extra time on it. A journal cover built around a specific trip theme, coastal colors for a beach trip, warm tones for a desert road trip, gives the whole book a cohesive identity before a reader even opens it. Fabric scraps, old maps, or a favorite photo all work well as cover material.
Adding a title, the trip dates, or a small drawing to the cover helps you identify the journal quickly if you keep more than one. Protecting the cover with a layer of clear tape or a thin varnish helps it survive repeated handling over the years. A well-designed cover makes the entire project feel finished and intentional.
Quick Reference Table
| Idea Type | Skill Level | Main Materials | Best For | Time Needed |
|---|---|---|---|---|
| Ticket Stub Pockets | Beginner | Envelopes, glue | Quick documentation | 10 minutes |
| Map Journaling | Beginner | Printed map, scissors | Route memories | 15 minutes |
| Washi Tape Borders | Beginner | Washi tape | Page decoration | 5 minutes |
| Mini Accordion Album | Advanced | Cardstock, ribbon | Single-day stories | 45 minutes |
| Pressed Flower Pages | Intermediate | Flowers, craft glue | Nature trips | Varies (drying time) |
| Stamped Passport Pages | Intermediate | Ink stamps, stickers | Long-term journals | 20 minutes |
| Flip Pockets | Intermediate | Cardstock, tape | Hidden extras | 15 minutes |
Conclusion
Putting together a travel journal does not require artistic talent or expensive supplies. Most of what makes these pages meaningful was already sitting in your pocket or bag by the time you got home, a stub, a wrapper, a folded map, a handful of coins. The twenty-two ideas above are simply different ways of giving that paper trail a proper home instead of letting it get lost in a drawer.
Start small if the idea of a full art journal feels overwhelming. Pick two or three ideas from this list for your next trip, gather your ephemera along the way, and build the page once you are home and can think clearly about the memory. Over time, one page becomes a habit, and one habit becomes a journey journal you will genuinely want to look back through for years.
You may also like this: 22 Paris Eiffel Tower Ideas for the Perfect French Getaway
Frequently Asked Questions
1. What supplies do I need to start a travel junk journal?
A basic setup only needs a notebook or blank pages, glue, scissors, and tape. Washi tape, small envelopes, and a few pens are helpful extras, but none of it needs to be expensive to get started.
2. Do I need to be good at crafting to make a travel journal?
No. Many of the ideas on this list, like ticket stub pockets or handwritten notes, require no artistic skill at all. The charm of a junk journal comes from authenticity, not perfection.
3. When is the best time to work on journal pages, during the trip or after?
Collecting ephemera works best during the trip, since that is when paper items are easiest to gather. Actually assembling the pages usually works better once you are home and have time to arrange everything thoughtfully.
4. How do I keep bulky items like ticket stubs or brochures from making the journal too thick?
Trimming items down to the essential part, using thinner pockets instead of full envelopes, and spreading bulky pieces across multiple pages instead of one all help keep the journal manageable.
5. Can I combine several of these ideas on one page?
Yes, and it often looks better that way. Pairing a map cutout with a ticket stub pocket, or a photo with a handwritten note, creates a fuller, more layered page than using just one idea alone.
1 Comment